It’s become apparent in our video’s that the sound quality wasn’t great, definitely the lowest point of our productions to date, and here’s why:
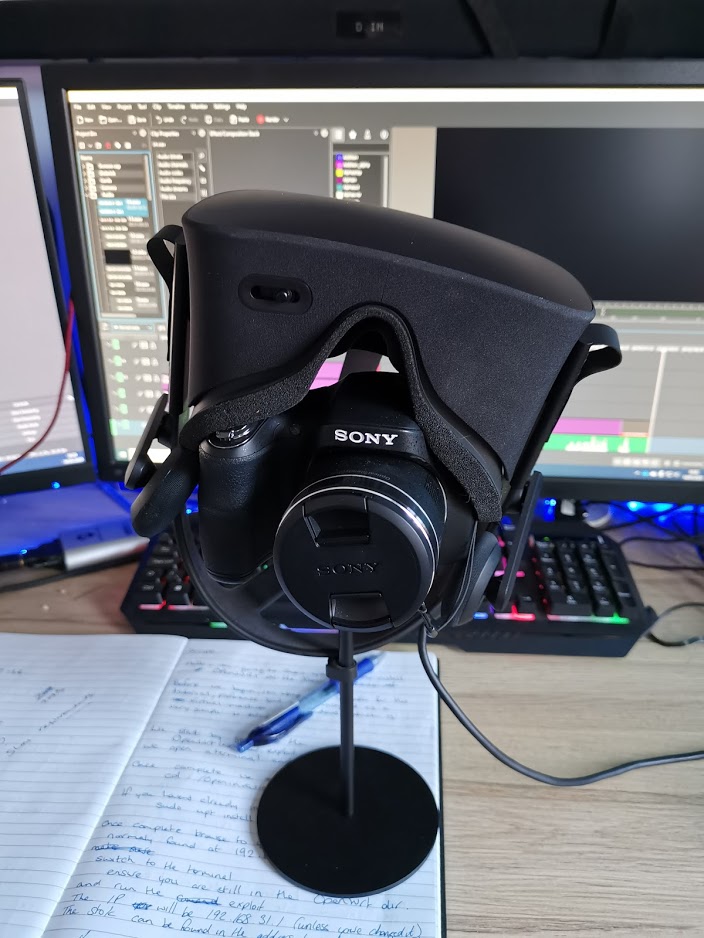
Up until recently, this was my microphone! My VR headset mounted atop a camera to get it closer to my mouth, this was the best I had. Definitely wasn’t giving the professional sound we wanted for the YouTube Channel.
So, I began to look around online and also began to educate myself on the best type of microphone to go for. My spec for a microphone was something that sounds good out of the box but at a later date, I can possibly upgrade or improve. So I started looking at USB Mic’s and soon found although they are ok out of the box your very limited, and I felt that one day I will want to upgrade from that to a condenser microphone and full setup I thought why not skip the USB step and did straight in for a condenser.
So I found this very entry-level microphone, the Tonor BM-700 and although the documentation states you need a Phantom 48V to run it I had read elsewhere you could get away without one if you have a decent onboard sound card in your motherboard. This seemed perfect for me, if I could get the microphone running out the box with my motherboard, later I could upgrade it by adding a Phantom 48V and perhaps get a bit more out of it, or maybe even something with adjustable levels like this.
So I ordered the Mic and the next day it came, it came with everything you could need for a beginners setup and I was even surprised it came with a USB sound card but ill talk about that more later. Build quality is OK, very good for the price. I’d be surprised if you didn’t get a few years out of the arm and the microphone and holder feel very well made, so if later I upgrade the arm I’m happy the holder and mic will withstand it.
First things first I tested the Mic direct to the USB sound card, I’ll remind you again I’m not using a Phantom 48V (as recommended) so the results were unsurprising, I ramped all the gains to 100% and as you will see in the video you can bearly hear me. Now I could improve this in post by adding more gain again but this will affect the sound quality a bit and plus if I decide to do any live streaming i’m stuck sounding like I’m whispering! If I had a Phantom im sure this card would work fine.
Next, I plugged into my motherboard. Once again put all the gains to 100% and was pleasantly surprised, I even dropped it down a little to stop it cutting. Sound quality is great much better than my VR headset and I believe better than a lot of the USB mic’s I’d seen people using! It’s defiantly not perfect, I really do need a Phantom 48V to bring up the sound and I still need to really play with the EQ to fine-tune it but I’m more than happy with what I’ve got straight out the box, this shall me for a while and help me learn how to best use the equipment.
In the video I go into some of the extra little tweaks I’ve added to improve the sound quality but I will be continuing to work on this and may do additional videos on my tweakings and findings if you’d be interested in that let me know in the comments.
2 responses to “Tonor BM-700 microphone review – unbox, setup and demo”
[…] Uhuru UM-910 is another reasonably priced microphone like the Tonor video we did recently, however, this one is USB. The benefits of USB vs XLR is that you don’t need […]
[…] recording and it gives me a lot of flexibility to do so. Build quality is good very similar to the Tonor BM-700 with a slightly stronger desk […]